
Overview
In this lab you will deploy cloud infrastructure for ACE Inc. from scratch using the Aviatrix Multi-Cloud Networking and Security platform. We are using the term Day 0 for the work done in this lab. Make sure you are logged in to your GitHub account and your Terraform Cloud account.
Here is an overview of the tasks in this lab:
- Deploy Aviatrix Controller from Sandbox Starter Tool
- Gather Azure API credentials
- Fork ACE code for this lab as a remote repository in your own account. Learn more about what forking a repo means here.
- Personalize the code for your accounts
- Connect GitHub with Terraform Cloud
- Adopt a VCS-driven workflow
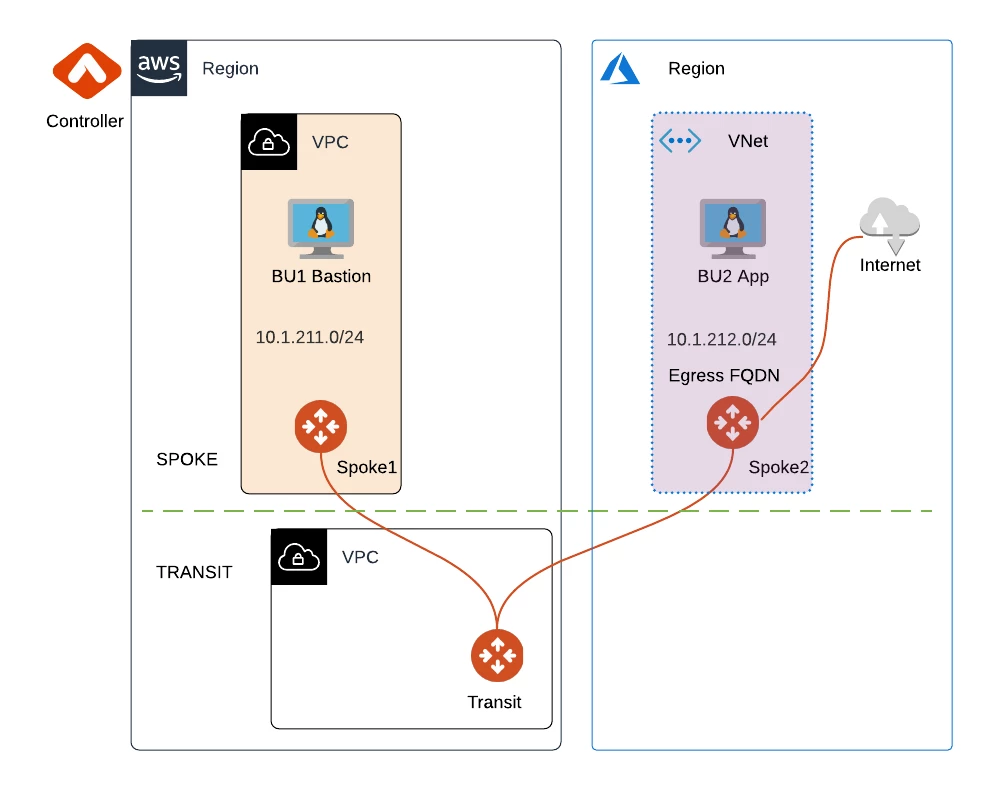
- Deploy the following infrastructure from scratch for ACE Inc.
Sandbox Starter Tool
Run Sandbox Starter Tool using the instructions here to deploy only a Controller. It will also deploy a CoPilot instance, but you don't need that in this training.
Stop after the Controller is created, once you are provided with its Public IP address. Do not create a Transit in AWS or Azure or proceed any further with Sandbox Starter Tool. You can access the Controller to view resources created by Terraform, but you will not be creating/deleting any resources from the UI.
In addition to deploying a Controller in AWS, Sandbox Starter Tool will also take care of onboarding your AWS account into the Controller. In the next section, you will learn how to get the information for onboarding your Azure account. The Terraform code will take care of the onboarding process.
Note: This training focuses on multi-cloud in the data path. While you can certainly have a Controller deployed in any Public Cloud, for this training we are assuming the Aviatrix Controller is in AWS.
Azure API Keys
In order to perform the labs in this training, you will need an active Azure account and the 4 API keys needed to create a Service Principal for onboarding an Azure account into the Controller.
Read this guide for information on how to obtain them.
GitHub
Fork ACE code for this lab
While logged into your GitHub student account, create a new repository by visiting https://github.com/AviatrixSystems/ace-iac-day-zero
Click Fork in the top-right corner of the browser.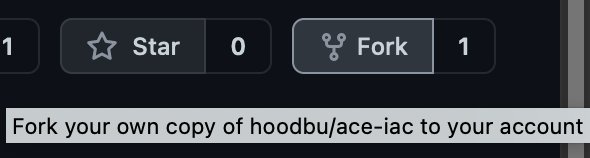
This will create a remote repository (aka repo) of the lab code in your own GitHub account. Remember: your GitHub account is playing the role of Network Operator for ACE Inc.
Code Review
In Terraform, every file ending in .tf is considered. So they could all be in one big file, but the best practice is to have separate files for various purposes. Here is how each file has a purpose in this Lab:
- azure.tf - This defines the workload for ACE Inc in Azure. It is an Ubuntu instance in the Spoke 2 VNet called BU2 App. At the bottom of the file, the code generates text output of the Private IP address of BU2 App.
- aws.tf - This defines the workload for ACE Inc in AWS. It is an Ubuntu EC2 instance in Spoke 1 VPC called BU1 Bastion. At the bottom of the file, the code generates text output of the Private IP address as well as the Public IP address of BU1 Bastion.
- backend.tf - This file states where your Terraform runtime (aka execution) and State should reside. We are using a Remote Backend in which both of these will reside in a Terraform Cloud workspace. You will need to edit this file appropriately
- main.tf - This file onboards the Azure account into the Controller by taking the API keys. This is necessary for creating the Aviatrix Spoke gateway in Azure. It also creates an Aviatrix Transit gateway and a Spoke gateway in AWS. Since we are using the Aviatrix modules, we build a lot in very few lines of code. For example, In 10-15 lines of code, we build a VPC in a specified region with a specified CIDR block, an IGW (in the case of AWS), route tables, subnets, an Aviatrix gateway in single mode (could have easily specified HA with a knob), and enable the Transit gateway for segmentation. This, along with more than a dozen other Aviatrix Terraform modules, provides even more repeatability than basic Terraform resources. You can read more about the AWS Transit module here and the Azure Transit module here.
- provider.tf - This file contains specific information about the Aviatrix, AWS, and Azure Terraform providers that we are using in this training. The AWS and Azure providers are for creating the workloads. All other resources will leverage the Aviatrix provider.
- variables.tf - Any variable with optional default values are provided here. For example, if you wanted to deploy the AWS infrastructure in a different default region than us-east-2 (Ohio), or with a different default name, or with a different default instance size, this would be the file to edit. Additionally, if a variable needs to have a non-default value, you would specify it in the Terraform Cloud Variables section.
- versions.tf - This just specifies the minimum version of the Terraform providers being used.
Personalize the code for your accounts
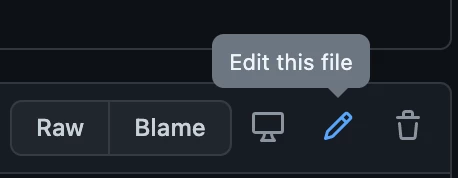
Edit ace-iac-day-zero > backend.tf (https://github.com/<your-account>/ace-iac-day-zero/blob/main/backend.tf).
Click the Pencil icon to edit directly on GitHub.com cloud UI
Uncomment this line:
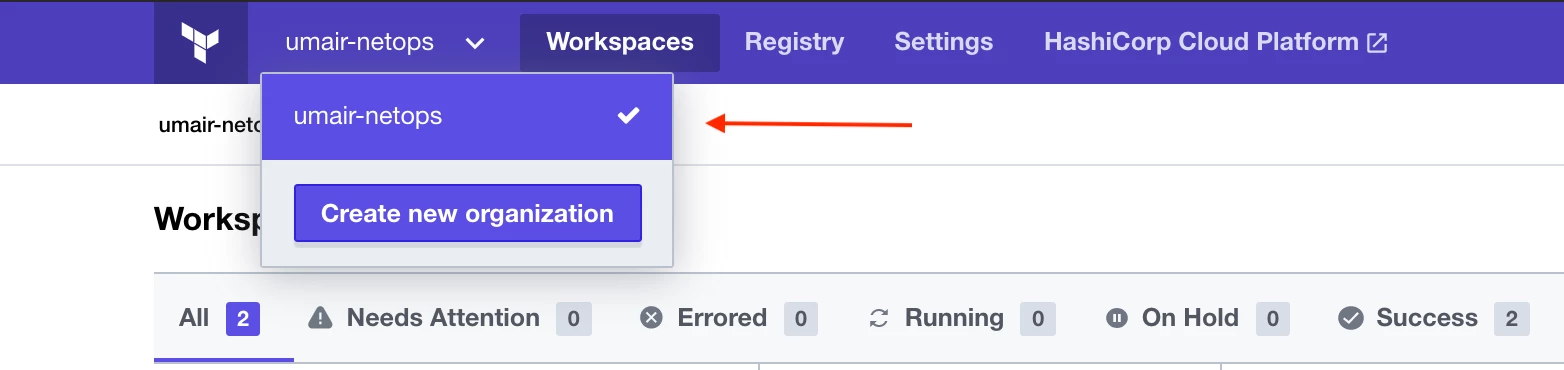
Edit it with the username of your Terraform Cloud organization account. Find it here on the Terraform Cloud UI page:
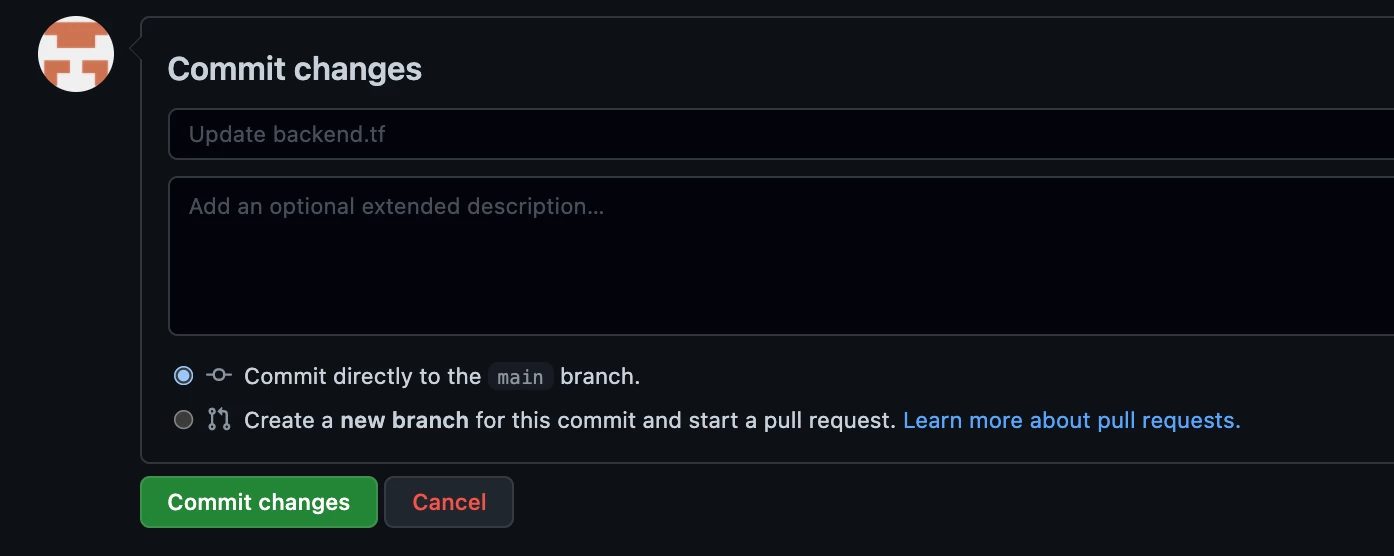
Back in GitHub page, at the bottom, click Commit changes directly to the main branch.
Terraform Cloud
Set up workspace
Create a new Workspace.
Select Version control workflow.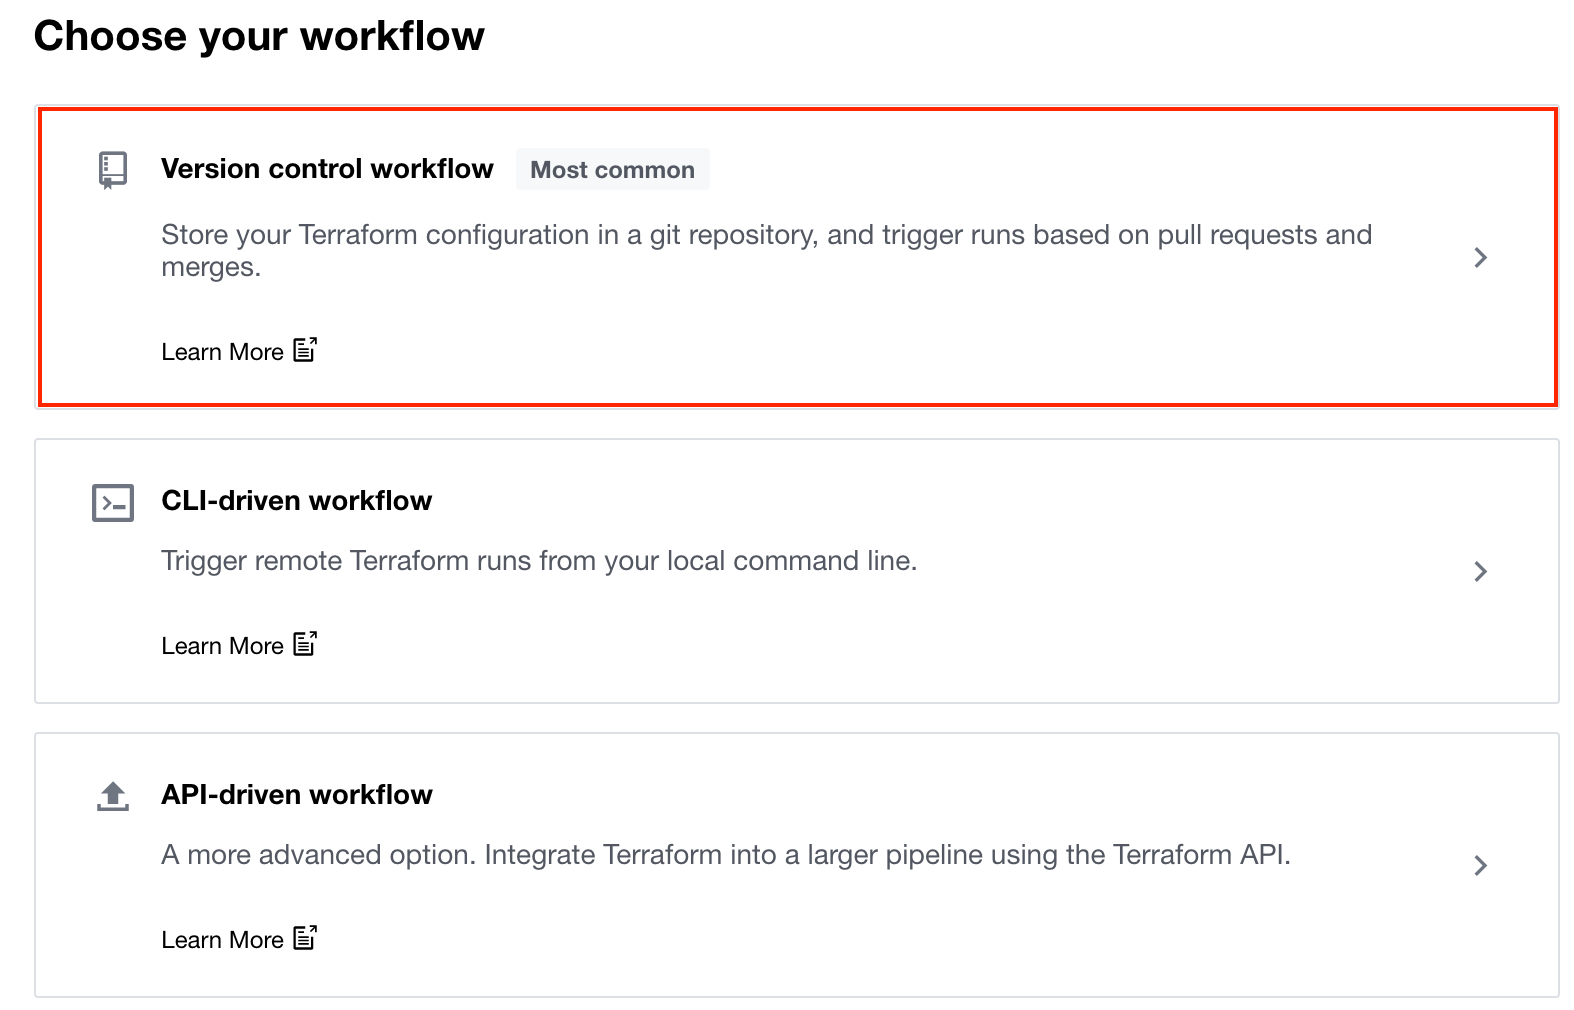
Under Connect to a version control provider, select GitHub.com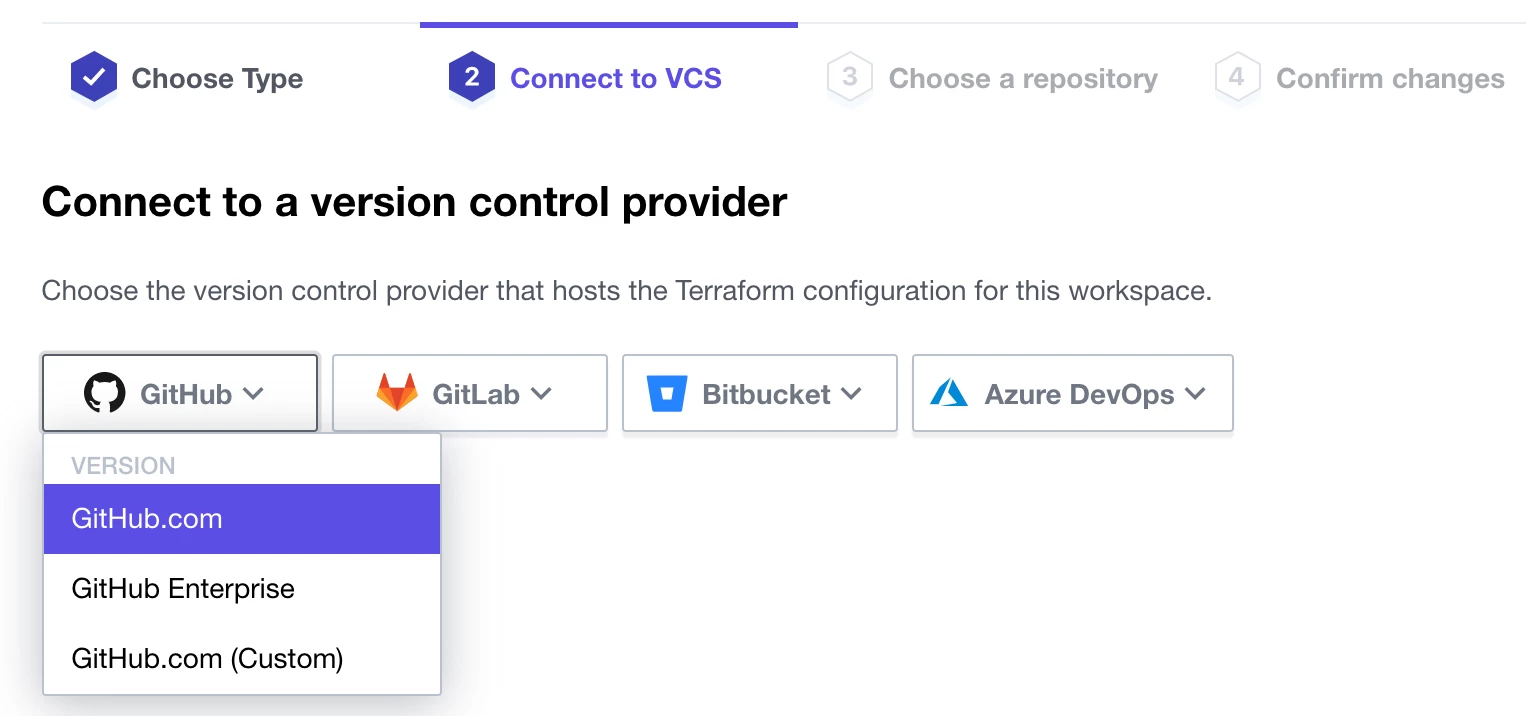
Authorize Terraform Cloud to verify your GitHub identity. If you do not see this message, disable your browser Ad Blocker as it is a pop-up dialog.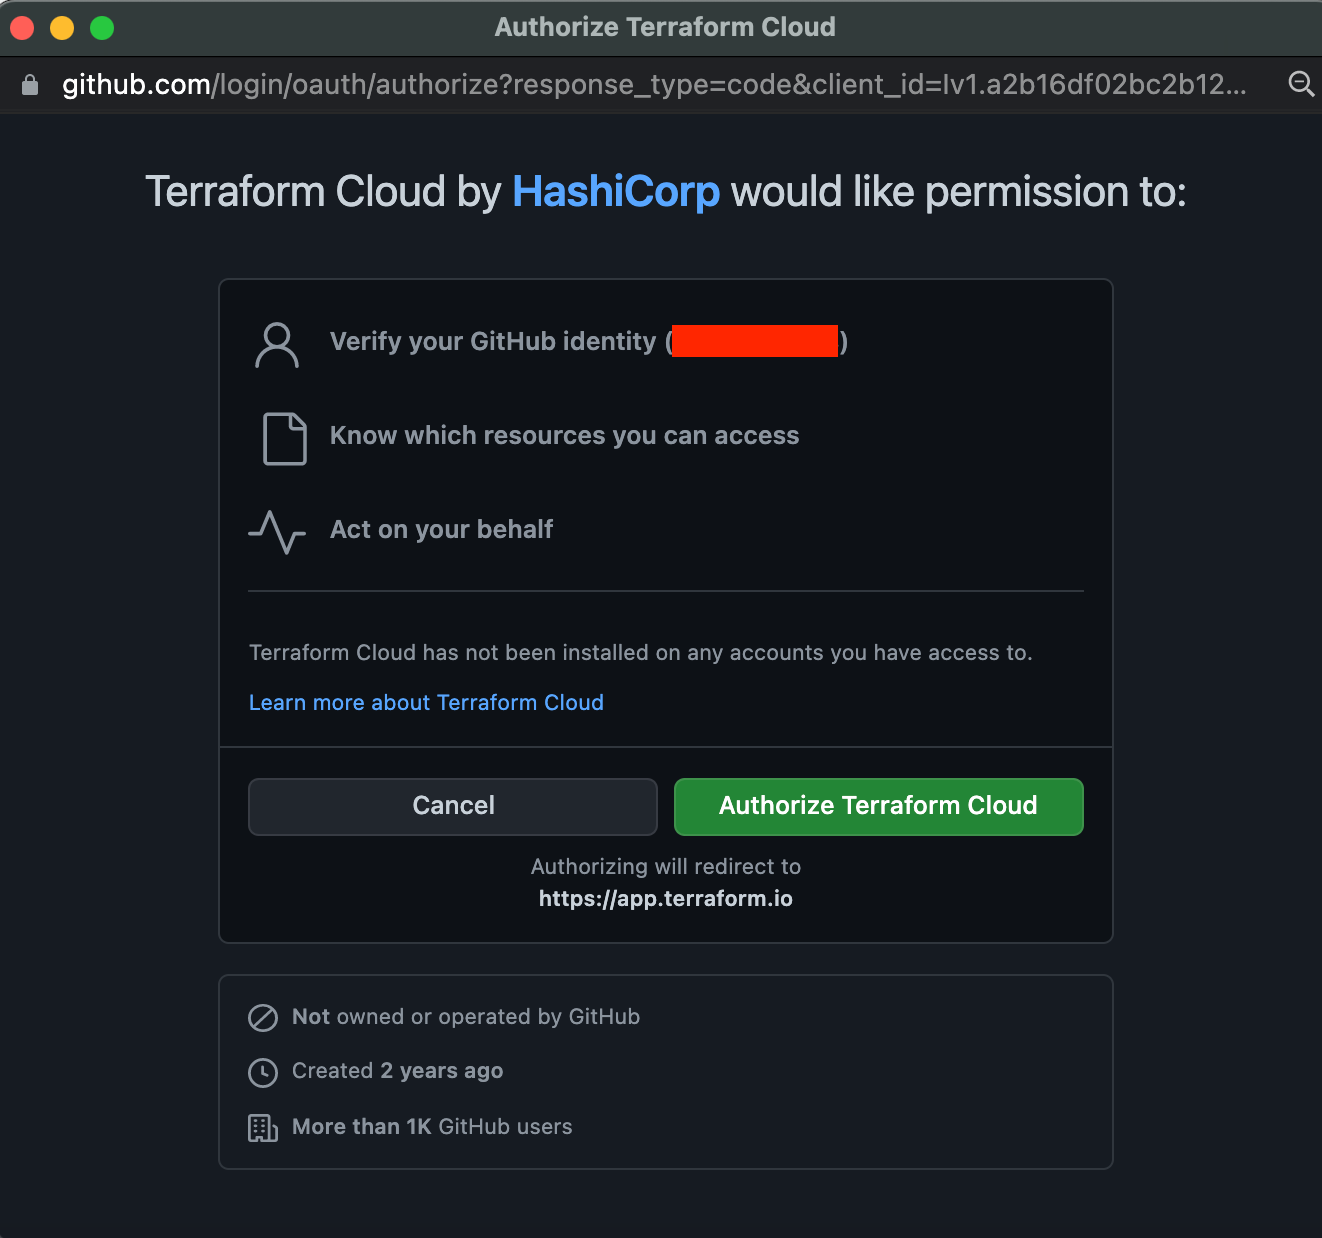
Install Terraform Cloud on your GitHub account. Keep the default of All repositories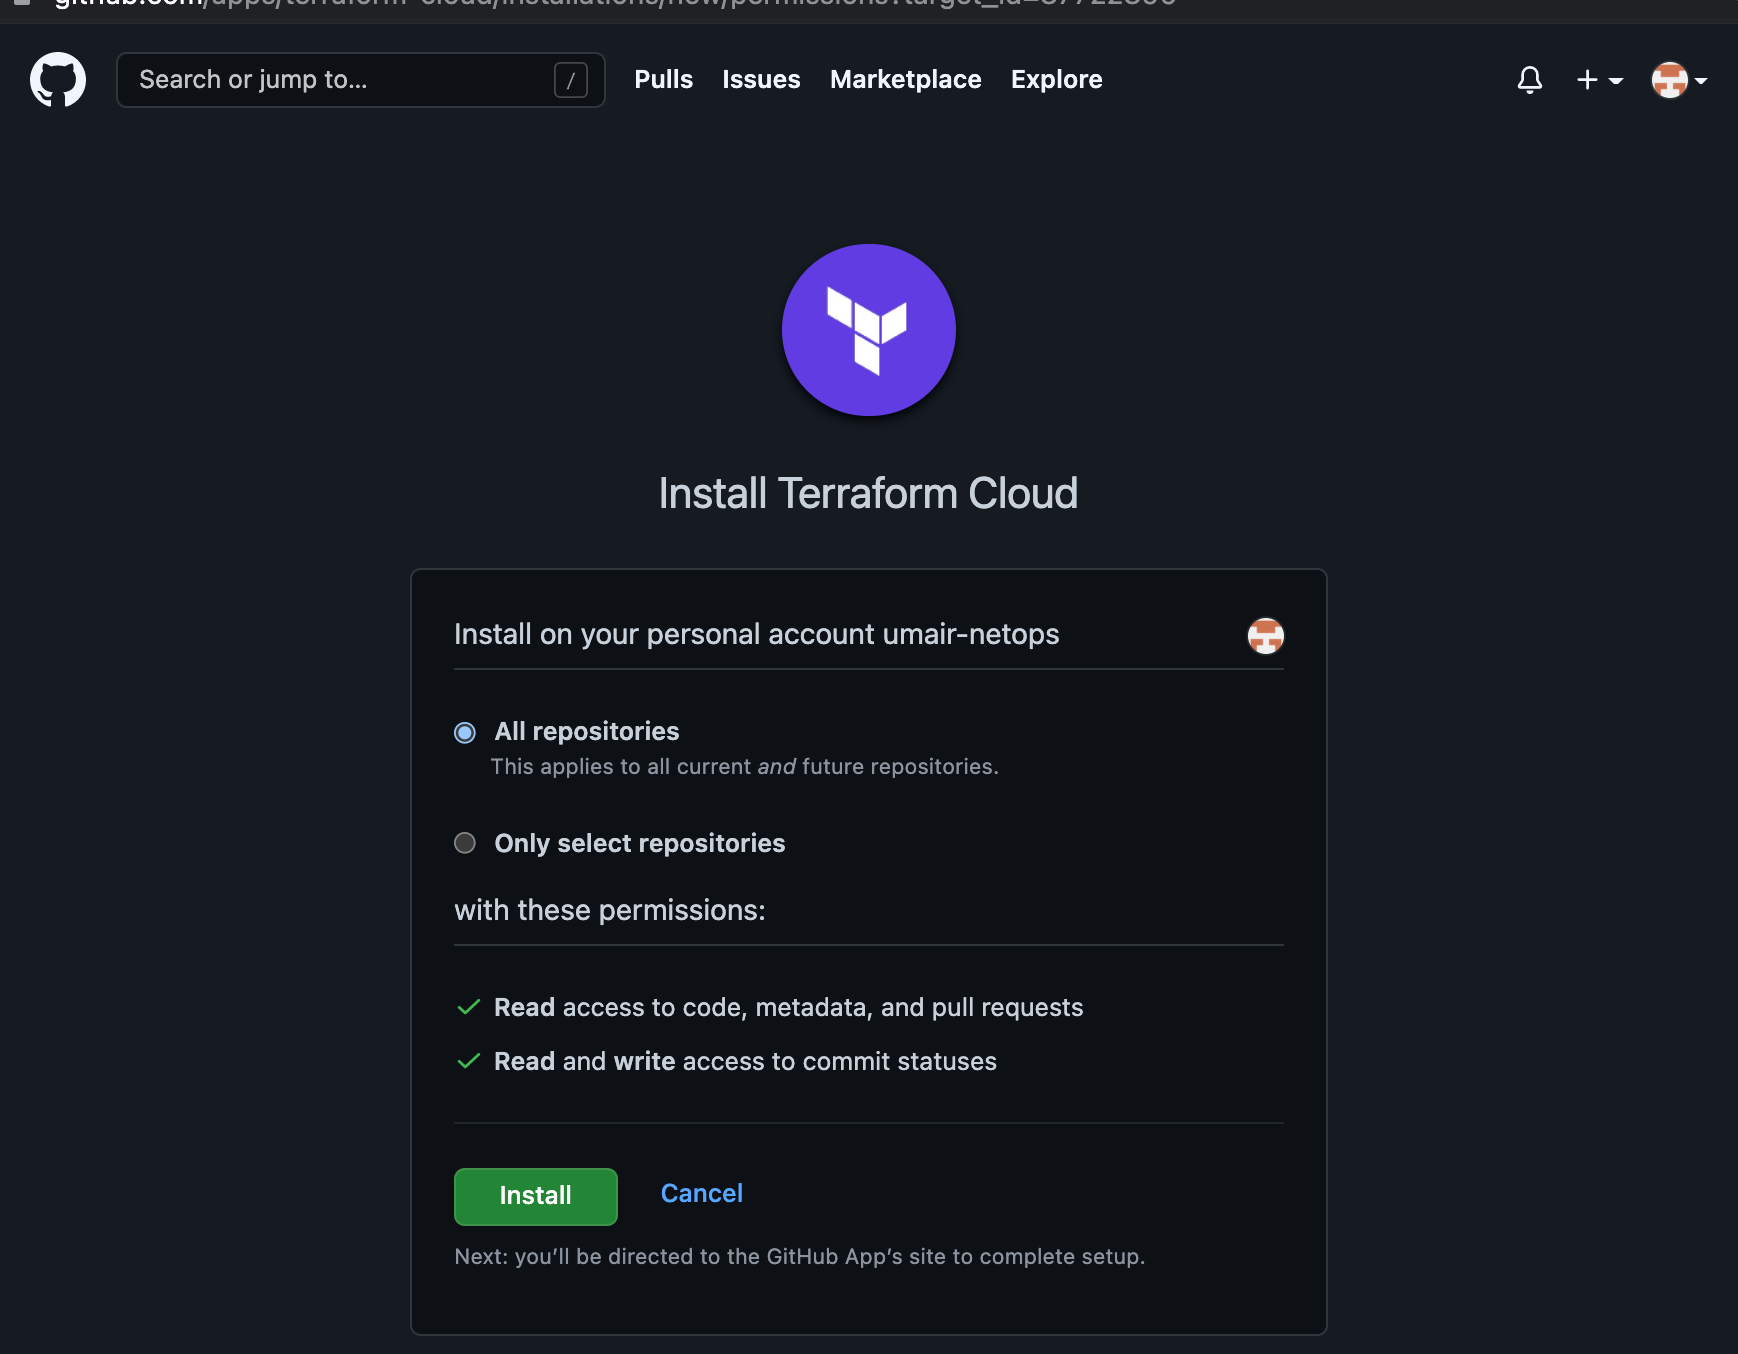
Choose the ace-iac-day-zero repository
Keep the Workspace Name as is and click Create Workspace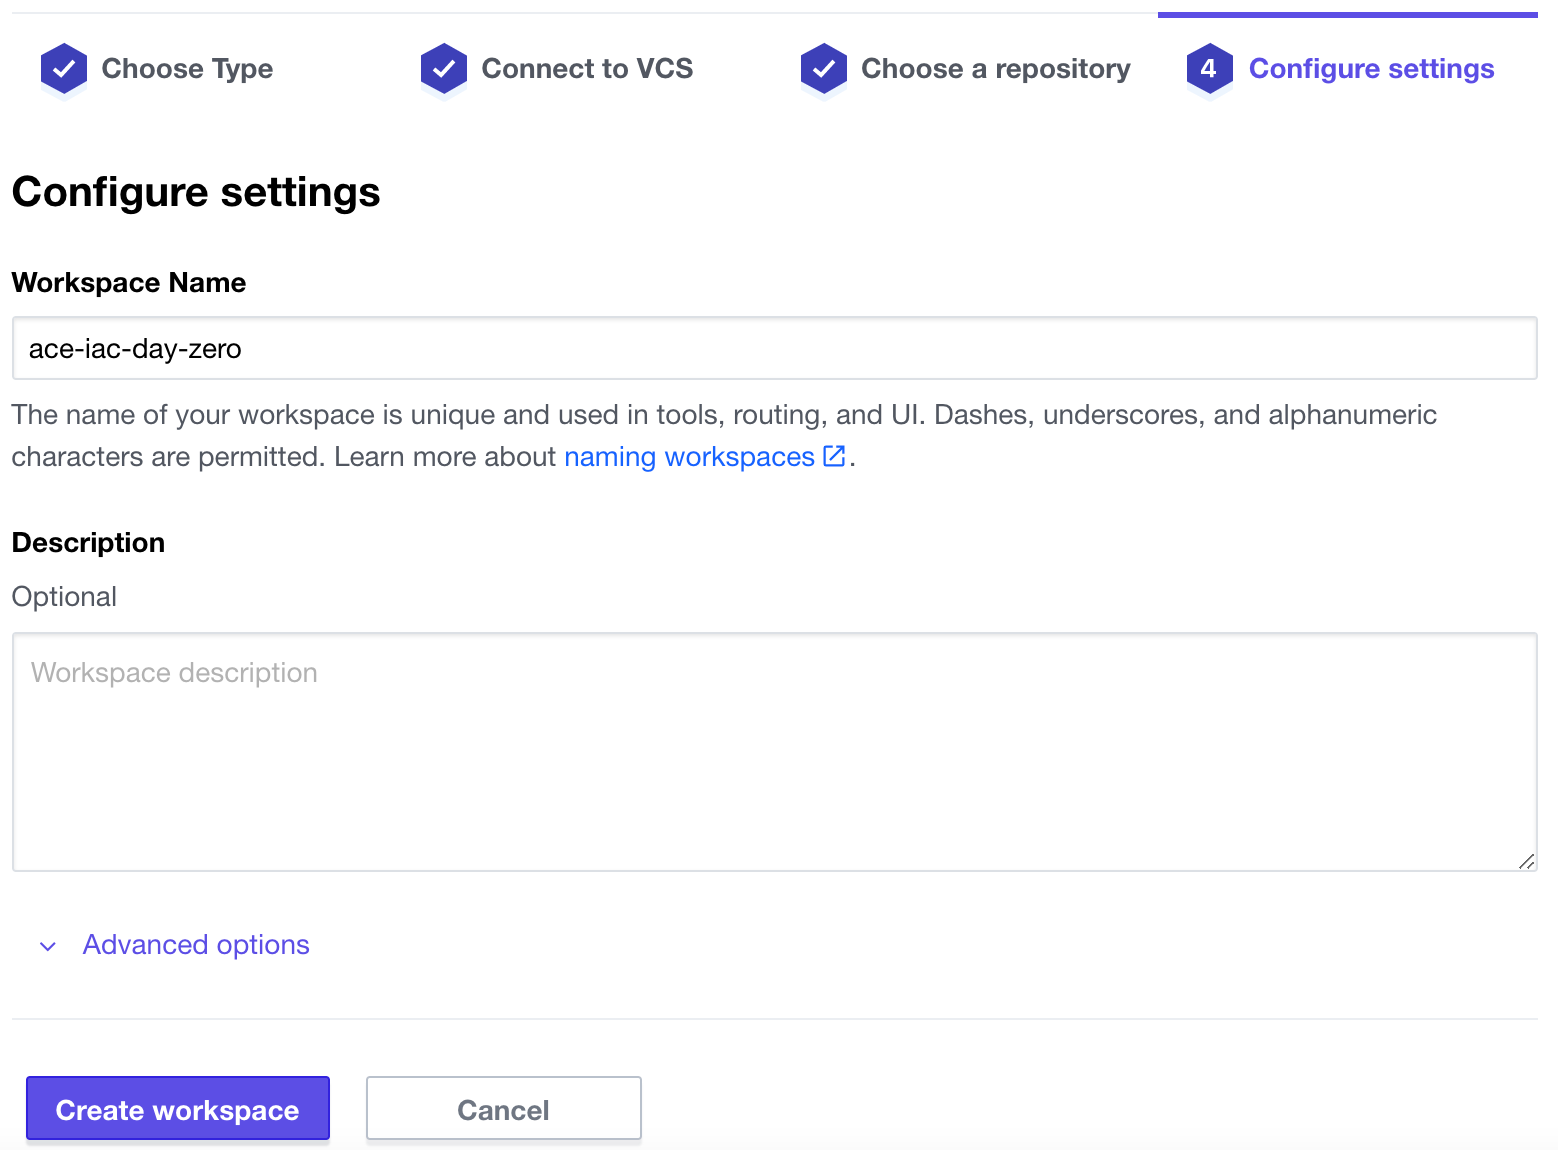
Configure Variables
Here you will configure Terraform Variables and Environment Variables. 
Locate the + Add variable button.

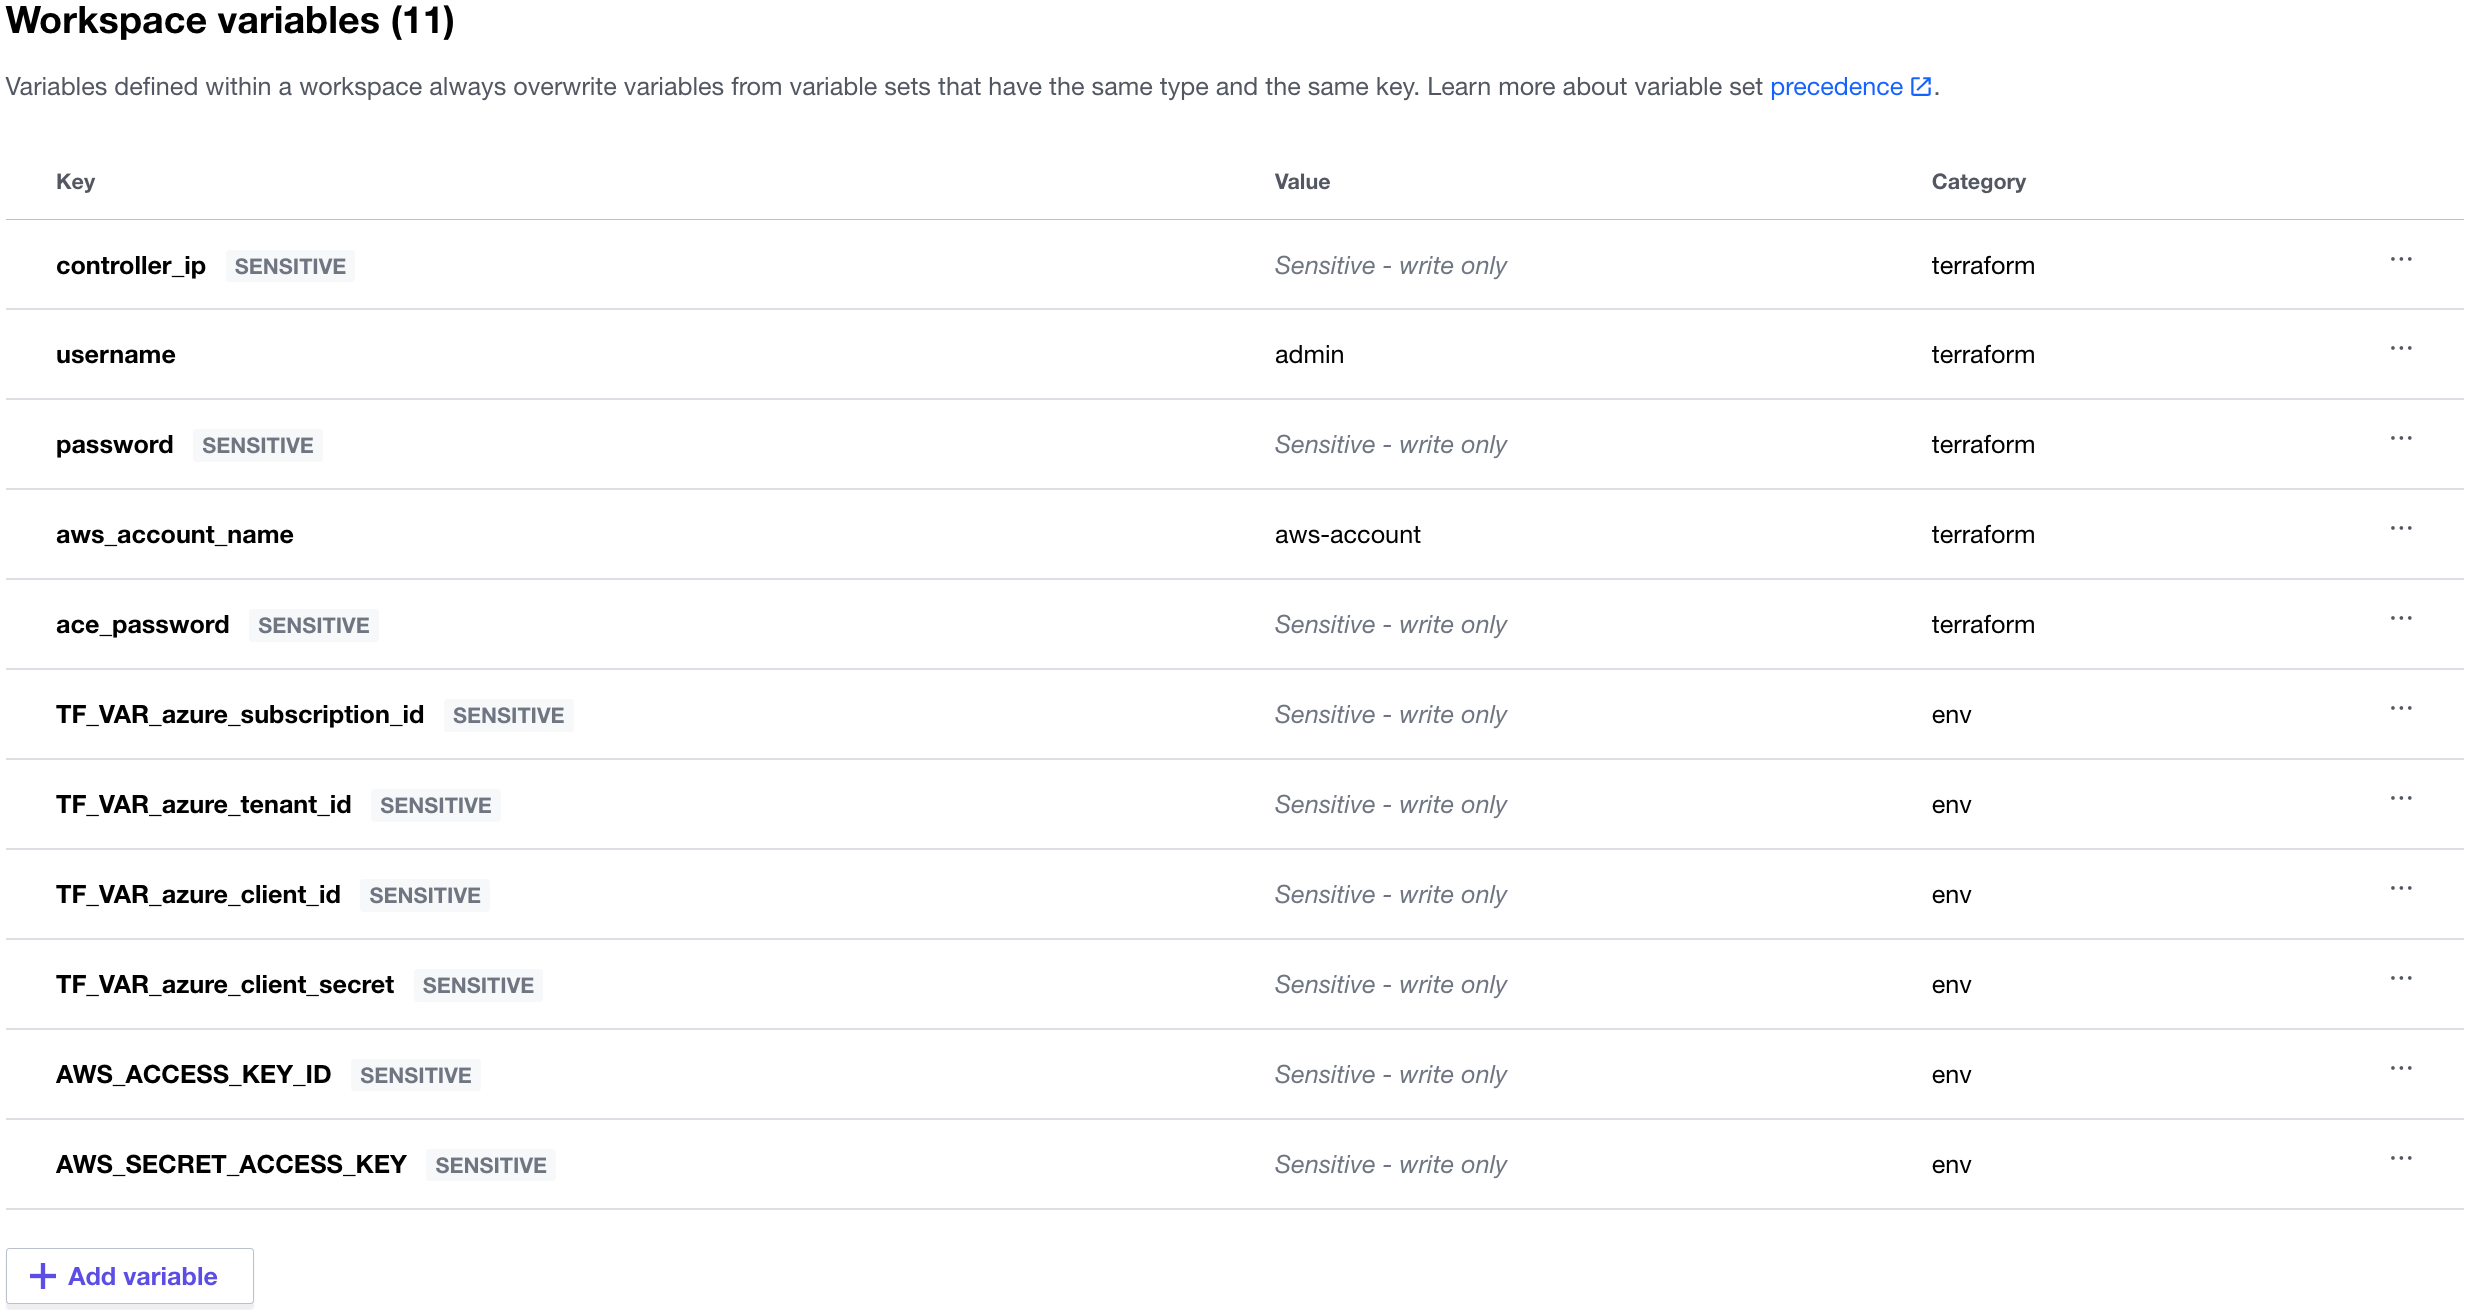
Then create/configure these five (5) Terraform Variables as follows with sensitive values for the passwords:
- controller_ip = <Public IP address of your Controller>
- username = admin
- password = <admin password you assigned to your Controller>
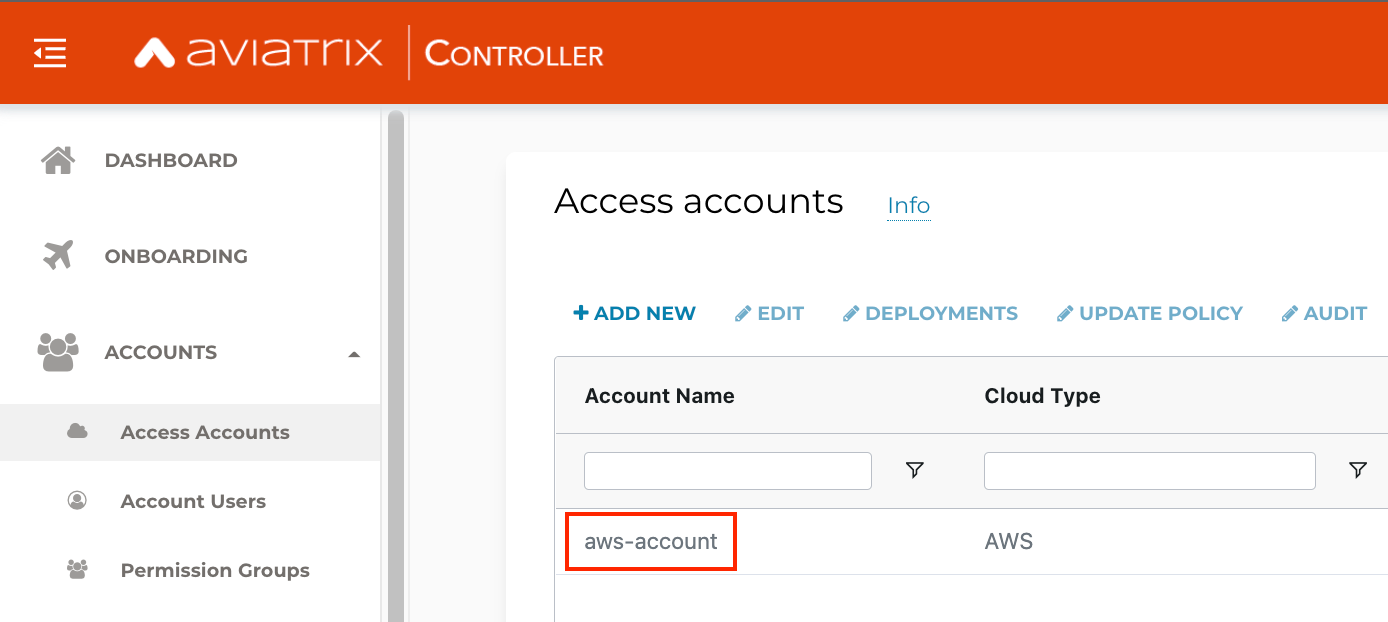
- aws_account_name = aws-account if your Controller is deployed via Sandbox Starter Tool; OR if you already have a Controller some other way, it is the name your AWS account appears onboarded to the Controller
- ace_password. Whatever you set it to, please note it down. You will use this to SSH to the workloads.
Then add these six (6) Environment Variables for the AWS and Azure CSP Security Credentials with sensitive values for all of them:
- AWS_ACCESS_KEY_ID = AWS Access Key ID that you used to deploy SST
- AWS_SECRET_ACCESS_KEY = AWS Secret Access Key that you used to deploy SST
- TF_VAR_azure_subscription_id = Azure Subscription ID. Learn how to determine it here.
- TF_VAR_azure_tenant_id = Tenant ID. This is also known as Directory ID. Learn how to determine it here.
- TF_VAR_azure_client_id = Application ID. This is also known as Client ID. Learn how to generate it here.
- TF_VAR_azure_client_secret = Application Key. This is also known as Client Secret. Learn how to generate it here.
When you are done, it should look somewhat like this:
Terraform plan and terraform apply
Move to the Overview tab and perform a terraform plan by from the Actions menu on the right side..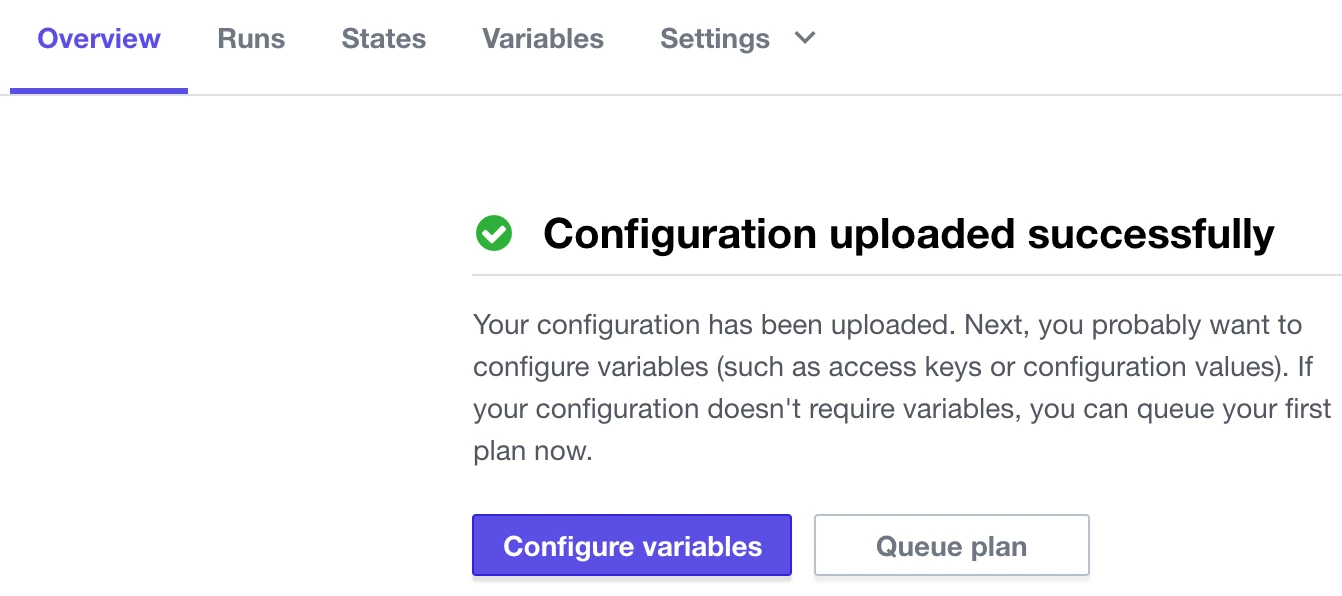
On the next page, you will see the output of the terraform plan and what resources will be built (number of resources may vary from screenshot).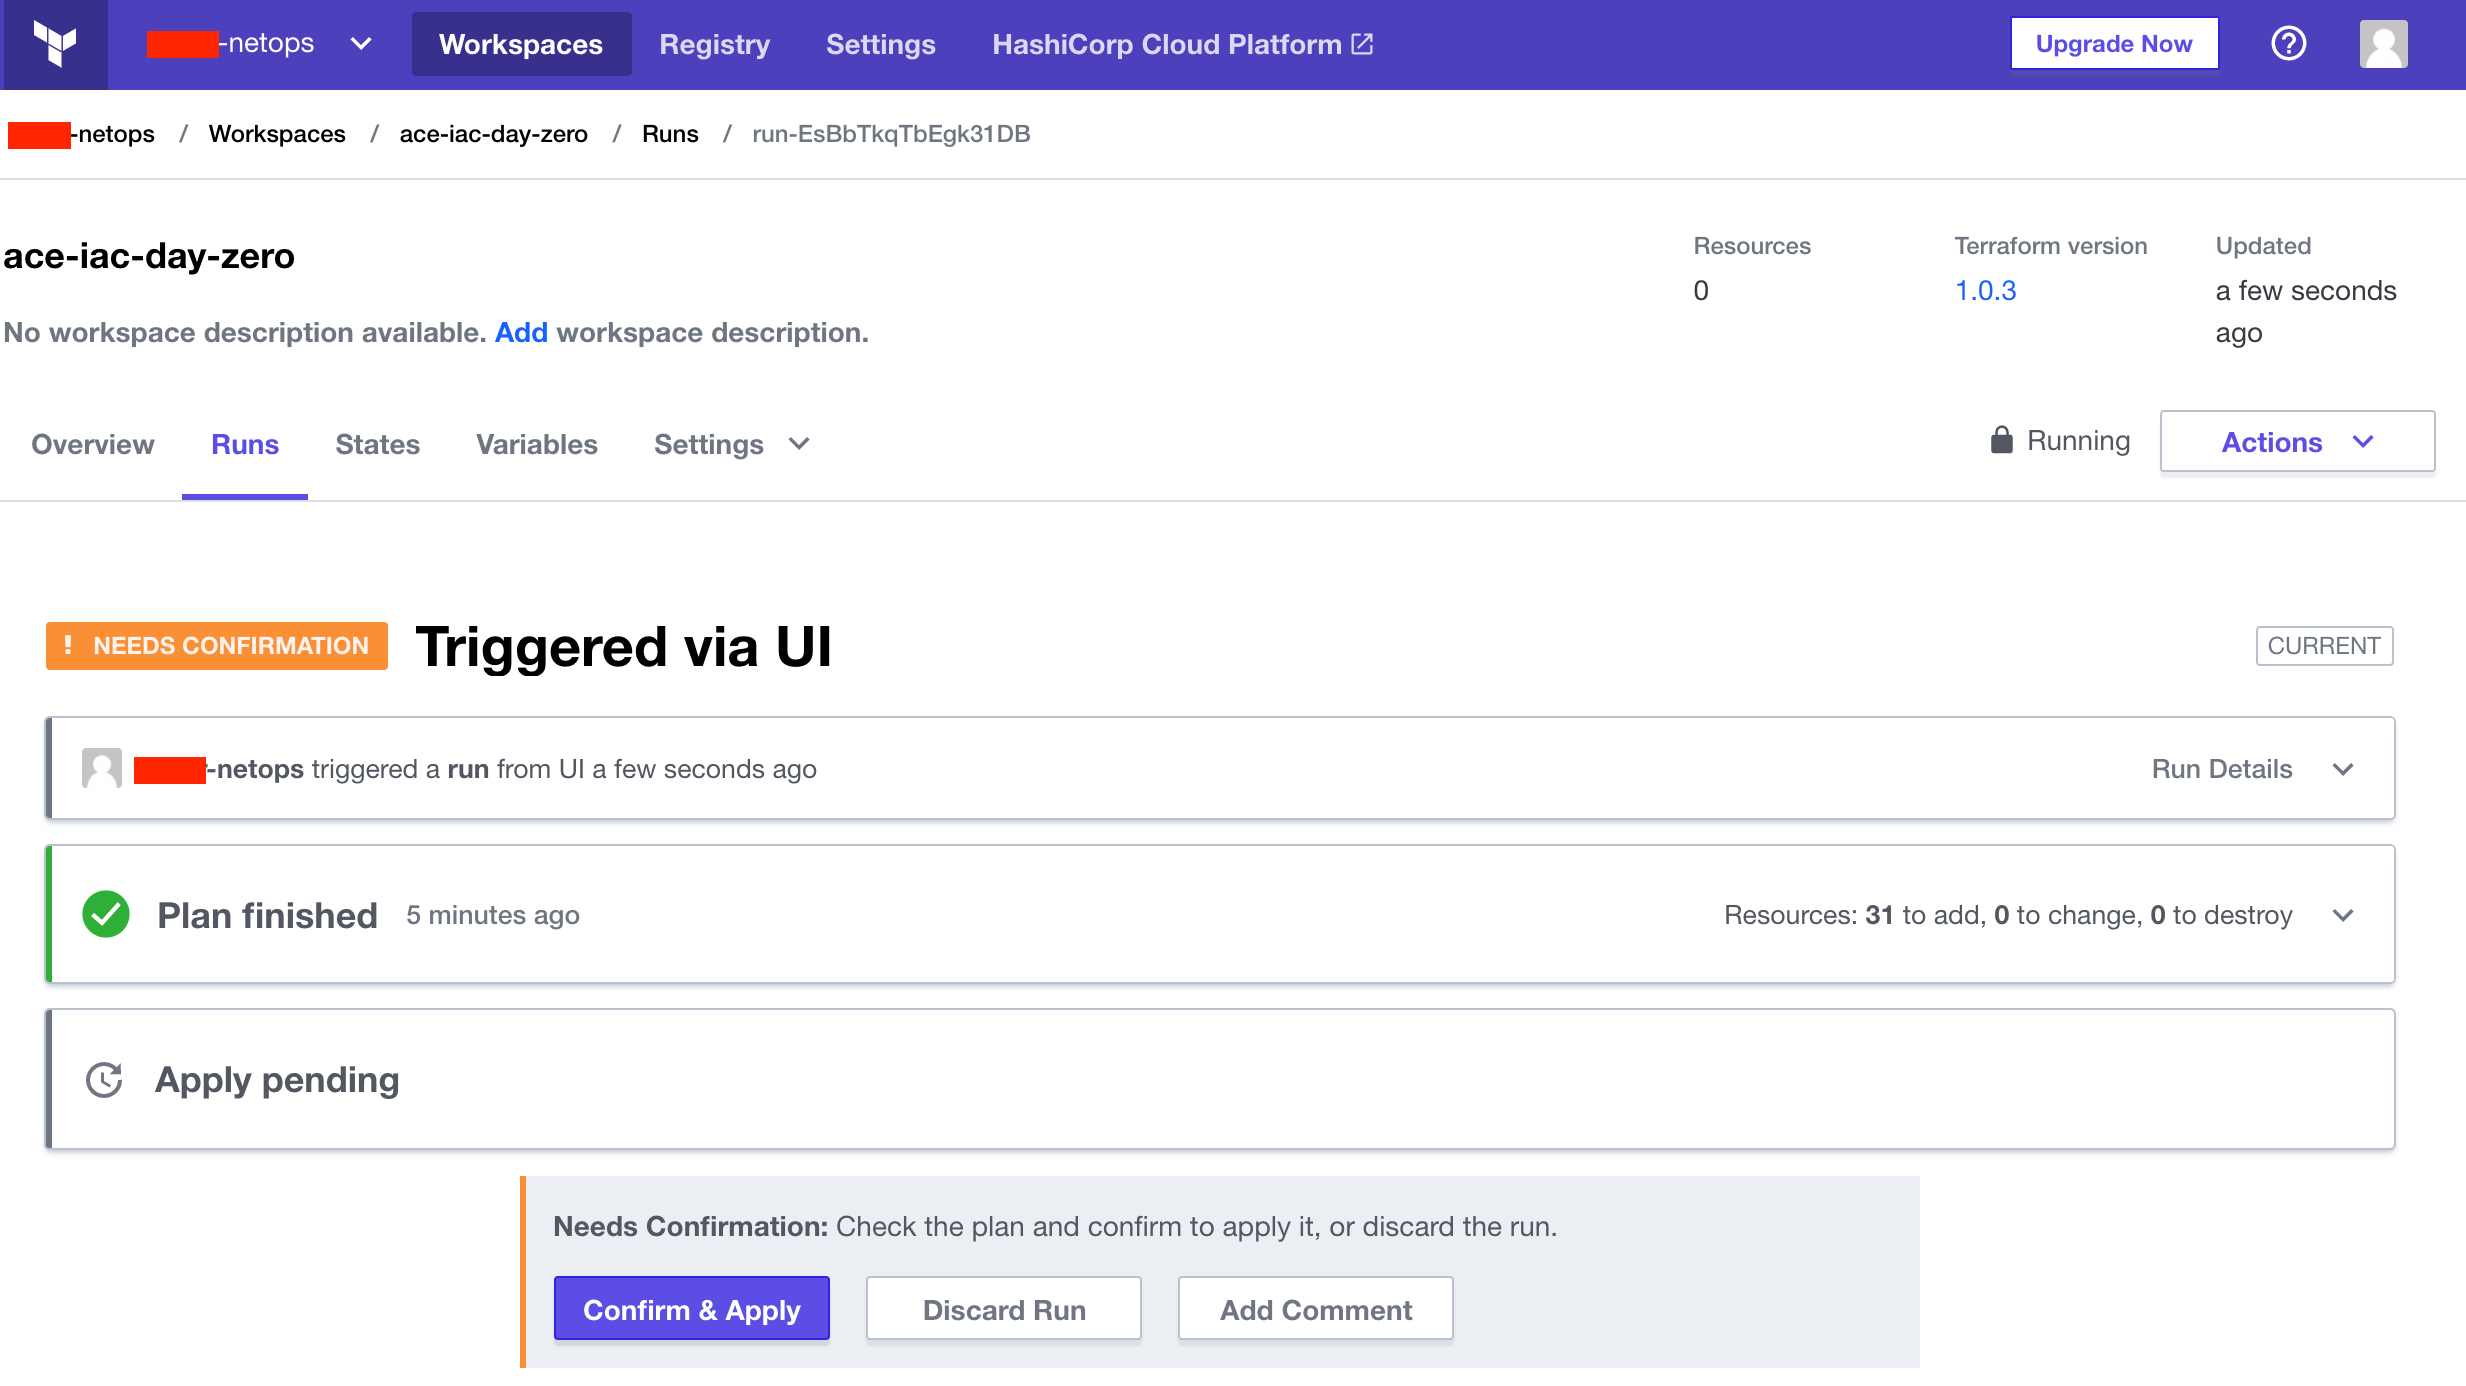
Click Confirm & Apply and provide any notes. This will issue the equivalent of terraform apply. Observe the progress of the resources being created by Terraform.
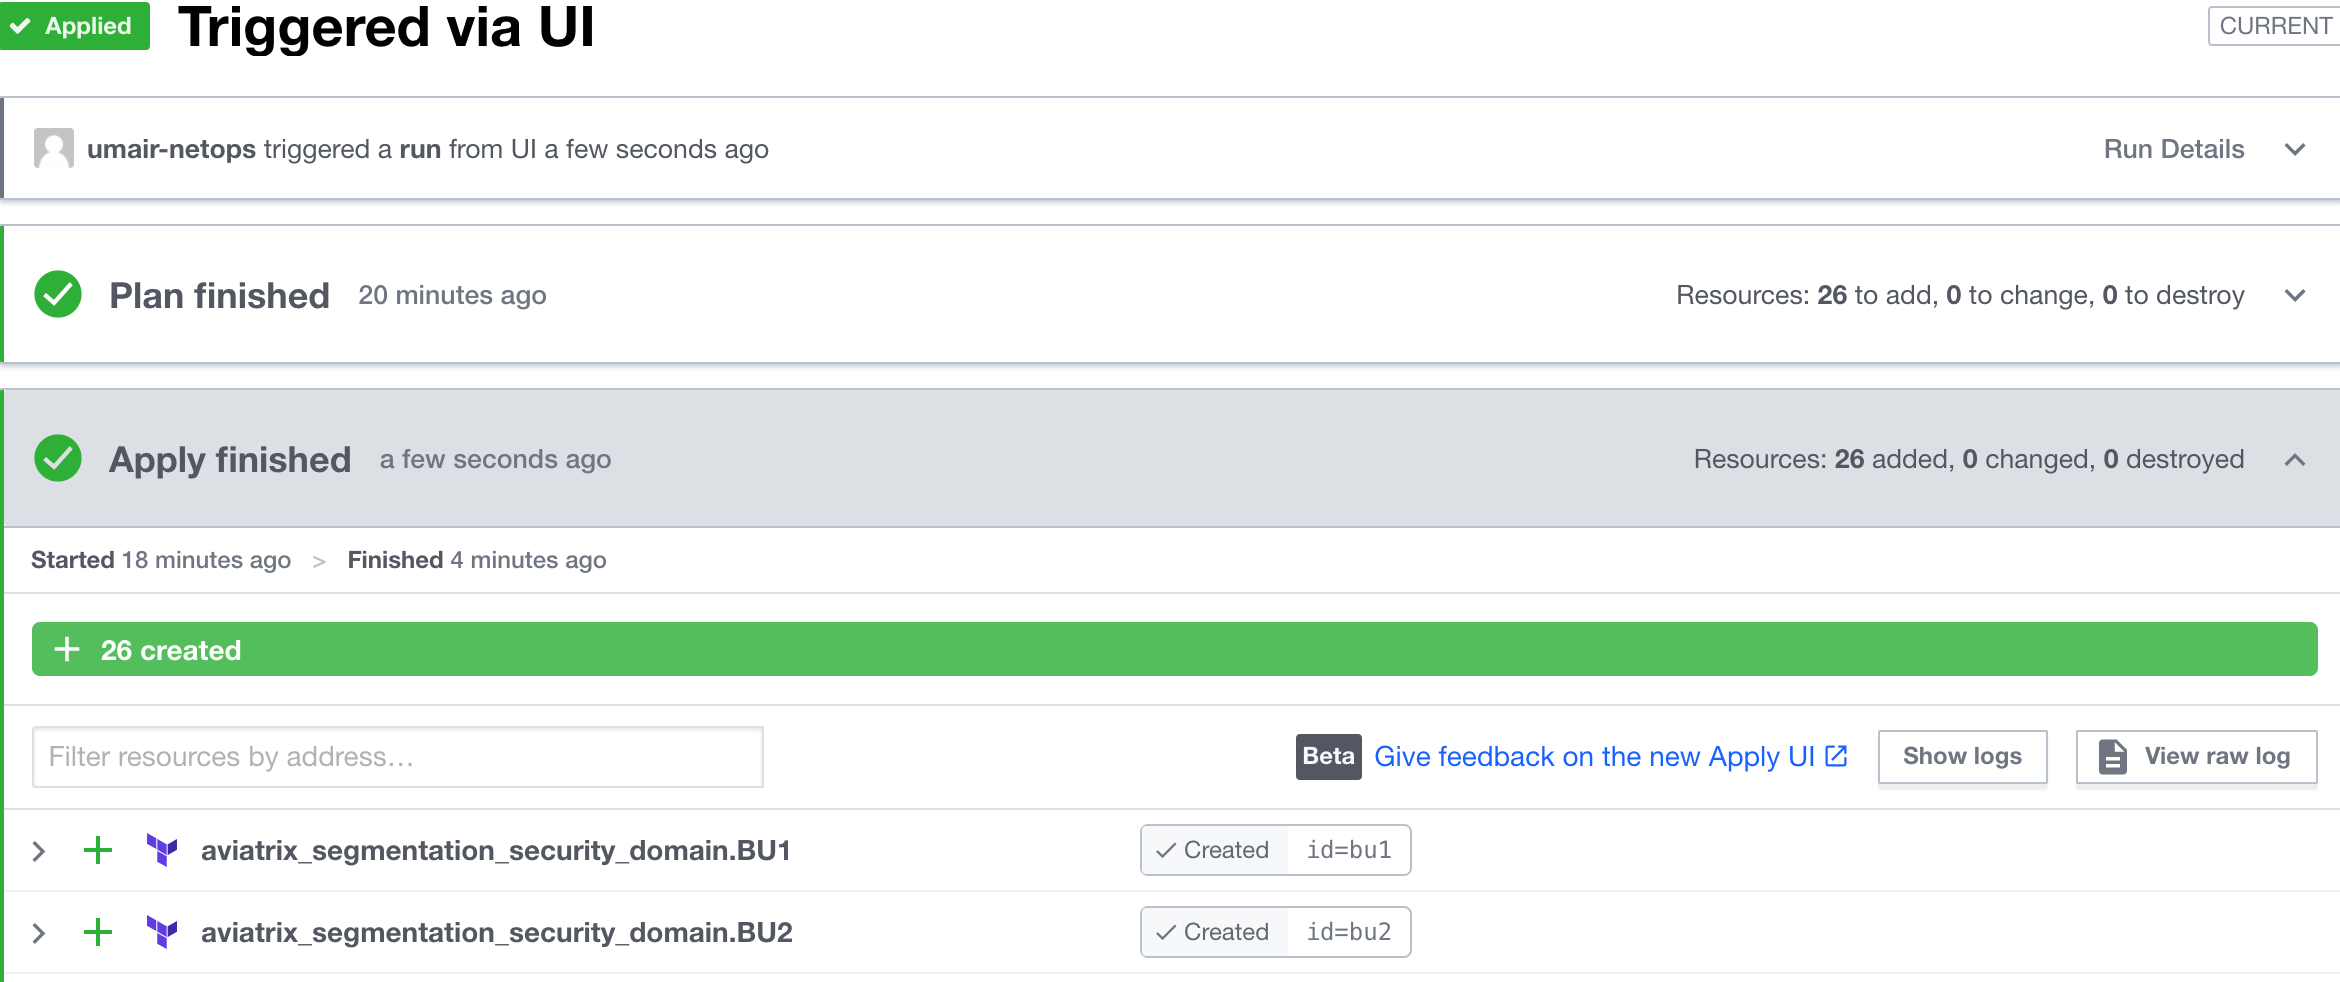
The infrastructure in Lab 1 should take about 10 minutes to build. As of version 6.5 of the Controller, gateway concurrency is supported, which means multiple gateways can be created simultaneously. When it has been built, you will see green output like this:
At the bottom, you will see output generated from the code at the bottom of the aws.tf and azure.tf files that will look like this:
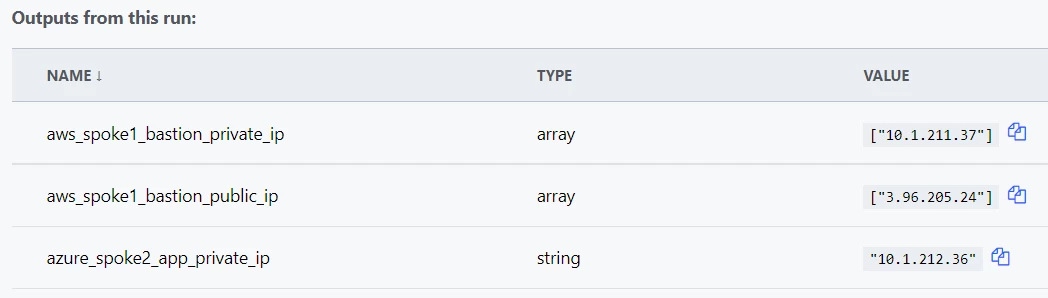
These are the Public and Private IPs of the Bastion host in BU1 (aka Spoke 1) as well as the Private IP of the App host in BU2 (aka Spoke 2).
At this point, you should be able to SSH to the BU1 Bastion as ubuntu and whatever password you set the password variable to above, but from there you won't be able to SSH to the BU2 App. The reason for that is BU1 and BU2 are not yet connected. Verify from the Controller:
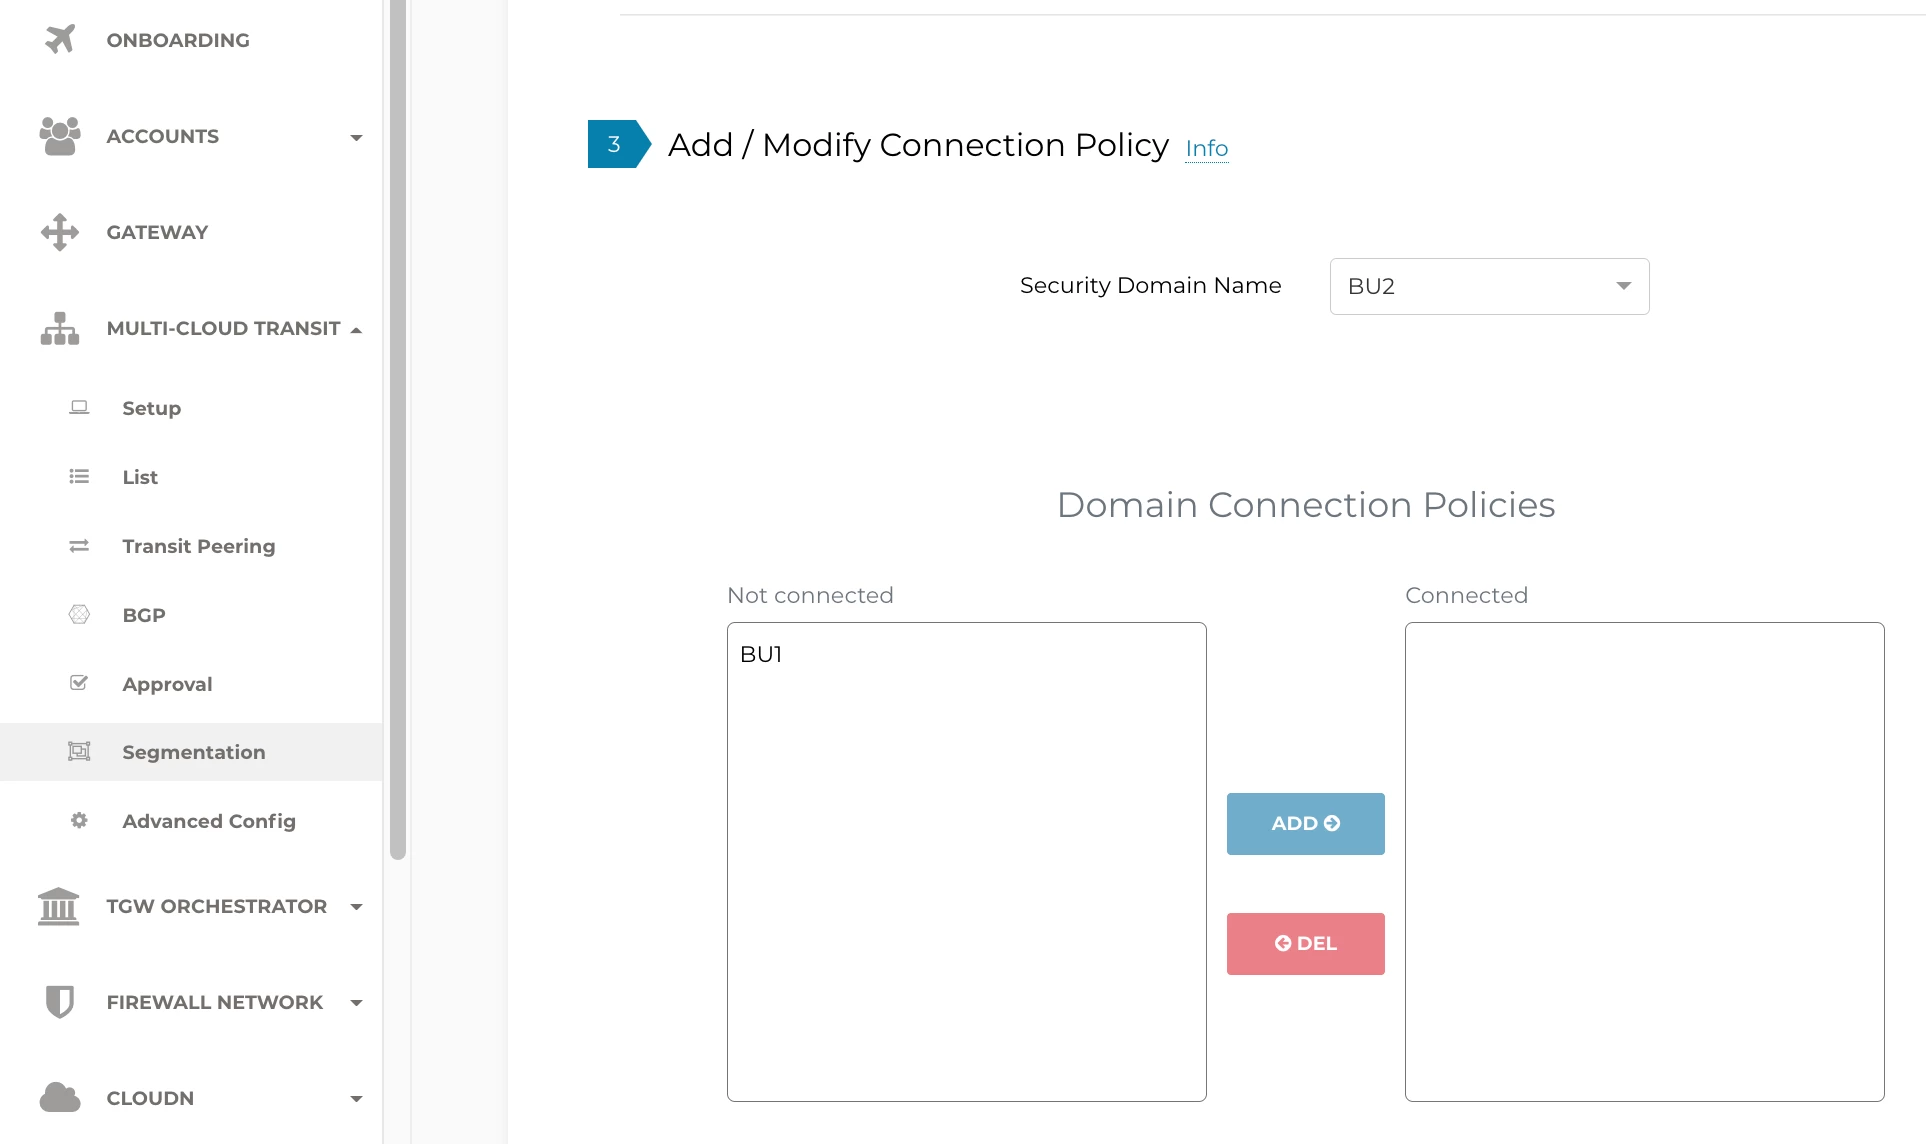
In Lab 2, you will configure a network domain Connection Policy via Terraform.